How to Convert Canva to Google Slides Presentation

Step-by-step Guide to Converting Canva Presentations to Google Slides
Let’s face it: Canva is a powerhouse for creating visually spectacular presentations. Its user-friendly interface makes it a top choice for business pitches, sales reports, and academic projects. Yet, when the time comes to work with a team or simply share a live document, Google Slides is the undisputed champion of collaboration.
If you find yourself caught between Canva’s creative freedom and Google Slides’ collaborative convenience, you’re not alone. Our step-by-step guide is here to bridge that gap, helping you bring your brilliant Canva designs to the collaborative world of Google Slides.
Choosing Your Perfect Presentation Tool: Google Slides Vs Canva
Choosing the right tool for a presentation is a classic debate between presenters. While both Canva and Google Slides are powerful, free platforms, they are designed with different priorities. Canva is the visual artist, built to empower anyone, regardless of design experience, to create stunning, professional-looking presentations. Google Slides, on the other hand, is the ultimate collaborator, prioritizing ease of use, seamless teamwork, and universal accessibility.
Here is a point-by-point comparison
Canva’s Strengths: The Design Powerhouse
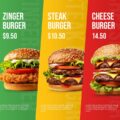
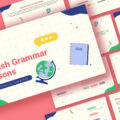
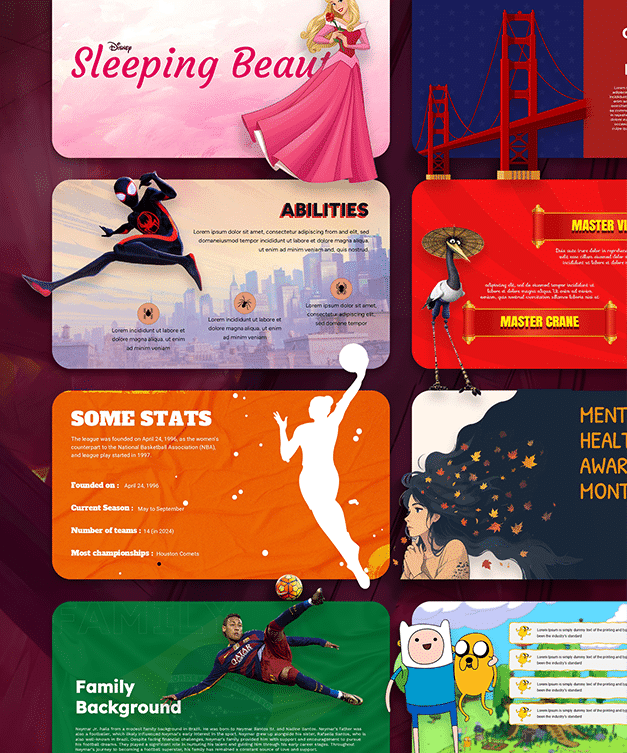
- Design and Templates: Canva’s library is vast and constantly updated with thousands of modern, visually striking templates. You get access to high-quality stock photos, graphics, icons, and a wide variety of fonts that make it easy to create a unique and professional-looking deck.
- User Interface: Its intuitive drag-and-drop interface is designed for non-designers. You can easily add, move, and resize elements, making the creative process fluid and enjoyable.
- Visual Elements: Canva offers more advanced visual features like animated elements, cinematic transitions, and a built-in background remover, giving your presentations a polished, dynamic feel.
Google Slides’ Strengths: The Collaborative Champion
- Collaboration: This is Google Slides’ killer feature. Multiple users can work on the same presentation in real-time, seeing changes as they happen. It also includes version history, so you can track all edits and revert to a previous version if needed.
- Accessibility and Integration: As part of the Google ecosystem, Slides is completely free and easily accessible from any device with an internet connection. It integrates seamlessly with Google Drive, Docs, and Sheets, making it perfect for teams already using Google Workspace.
- Real-time Sharing: Sharing a Google Slides presentation is as simple as sharing a link. You can grant different levels of access (view, comment, or edit), which is ideal for sharing with clients or for group projects.
How to Transfer Canva to Google Slides
While Canva and Google Slides don’t have a direct “convert” button, there are three proven methods to transfer your creative design from one platform to the other. Each method has its own advantages, so choose the one that best suits your project’s needs.
Method 1: Export as a PowerPoint (.pptx) file (Recommended)
This is the most popular and effective way to convert your presentation. It allows you to retain most of your text, shapes, and images as editable elements in Google Slides, making it ideal for collaborative projects.
- Open your Canva presentation. Navigate to the presentation you want to convert and open it in the Canva editor.
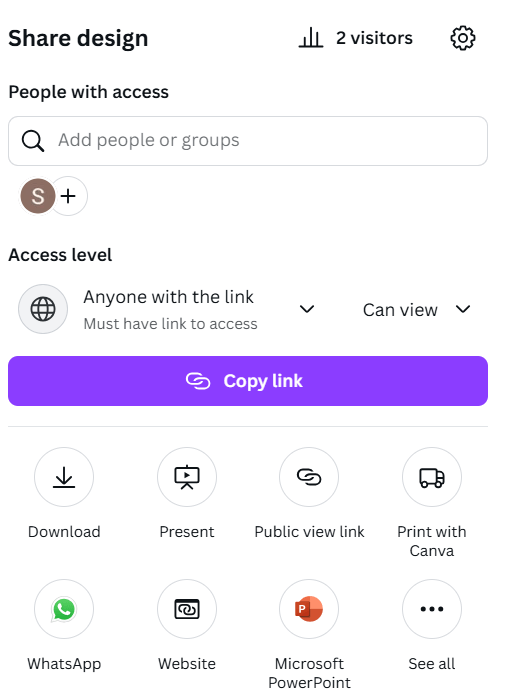
- Access the Share menu. In the top right-hand corner of your screen, click the Share button.
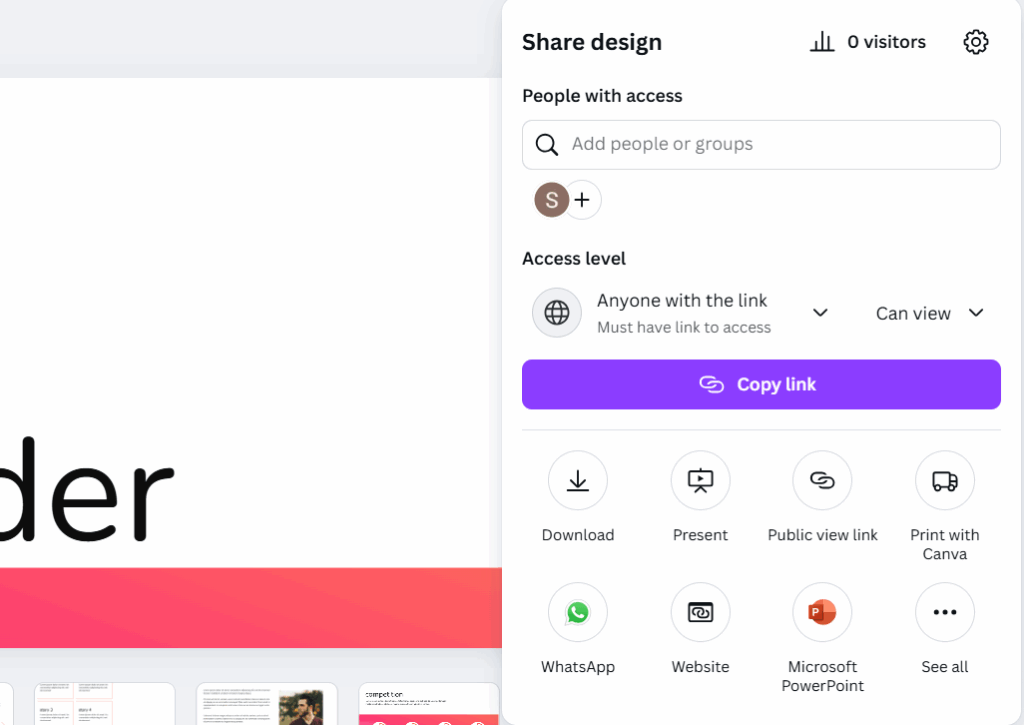
- Choose the “Download” option. From the pop-up menu, select Download.
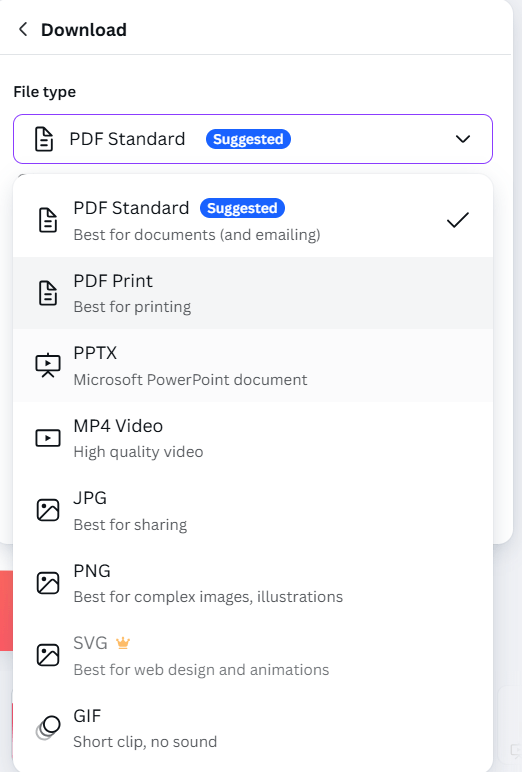
- Select the file type. In the file type dropdown menu, choose Microsoft PowerPoint (.pptx). You can also select which pages to download if you don’t need the entire presentation.
- Download the file. Click the Download button. The .pptx file will be saved to your computer.
- Open Google Slides. Go to Google Slides and either create a new blank presentation or open an existing one.
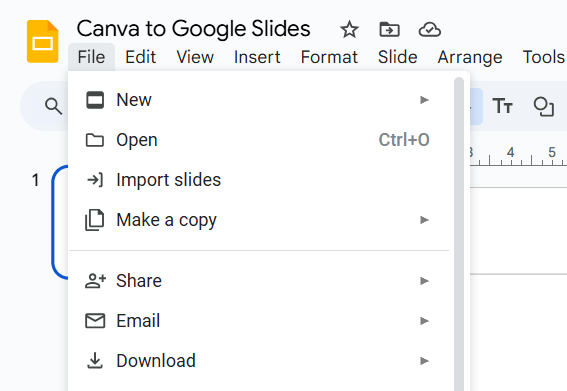
- Import the slides. From the top menu, go to File > Import slides. A new window will pop up.
- Upload your file. Select the Upload tab, and then either drag your .pptx file into the window or click Browse to locate it on your computer.

- Import the slides. Once the file is uploaded, Google Slides will show you a preview of all the slides. Select the ones you want to import and click Import slides.
Your Canva design is now in Google Slides, with most elements remaining editable.
Method 2: Export via Google Drive for a Seamless Workflow
This method is an excellent shortcut that combines the benefits of Method 1 with the convenience of direct cloud-to-cloud transfer. It saves you the step of downloading the file to your computer first.
Step-by-Step Guide:
- Open your Canva presentation. Open the presentation you’re working on in the Canva editor.
- Access the “More” sharing options. Click the Share button in the top right corner. From the menu, scroll down and click on More (or the three dots icon).
- Connect to Google Drive. In the list of apps and integrations, find and select Google Drive. You may need to grant permissions to connect your Canva and Google Drive accounts for the first time.
- Choose the file type and destination. A new window will appear. Select Microsoft PowerPoint (.pptx) as the file type and choose the specific folder in your Google Drive where you want to save the file.
- Save the file. Click the Save button. Canva will now directly export your presentation as a .pptx file to your Google Drive.
- Open the file in Google Slides. Go to your Google Drive, locate the newly saved .pptx file, and double-click it. Google Slides will automatically open it for viewing.

- Finalize the conversion. To make it a fully editable Google Slides file, go to File > Save as Google Slides. A new file will be created, and your conversion is complete.
Important Points to Remember When Converting Canva Presentation to Google Slides
While the conversion from Canva to Google Slides is a powerful way to bridge the gap between design and collaboration, it isn’t always a flawless transfer. Keep these key points in mind to ensure your presentation looks just as you intended and to troubleshoot any minor issues.
- Font Changes: If you used a custom font in Canva that isn’t available in Google Slides, it will be automatically replaced with a default font (like Arial or Open Sans). Double-check your slides after converting and manually change any fonts that look incorrect.
- Minor Formatting Issues: Complex design elements like certain animations, gradients, or custom shapes may not transfer perfectly. Review your converted presentation slide by slide and make small adjustments to align elements or correct spacing.
- Video and Audio: Video and audio files embedded in your Canva design will not transfer to Google Slides. You will need to re-upload these files and insert them into the new presentation after the conversion is complete.
- The Power of PNG: For any slides with a very intricate design that you don’t need to edit, converting them to a PNG image (as mentioned in Method 2) is a surefire way to preserve the visual look without any risk of formatting changes.
- Choose Your Method Wisely: The .pptx method is the key to maintaining editable elements for collaboration. If you want to make changes or work with a team, always use Method 1 or 3. The PNG method is best for static, non-editable presentations.
Final Words
Ultimately, the best tool is the one that gets the job done most effectively. For many, that’s a combination of Canva for design and Google Slides for teamwork. This guide has shown you that you can have the best of both worlds, turning a potential obstacle into a streamlined workflow. From the quick Google Drive connection to the more manual image-based method, you now have the knowledge to move your projects forward without losing a single pixel of your creative vision. So, what’s stopping you? Give one of these methods a try and let us know how it worked out for you in the comments below!
About The Author