Table of Contents
Guide on How to Edit a PowerPoint Template
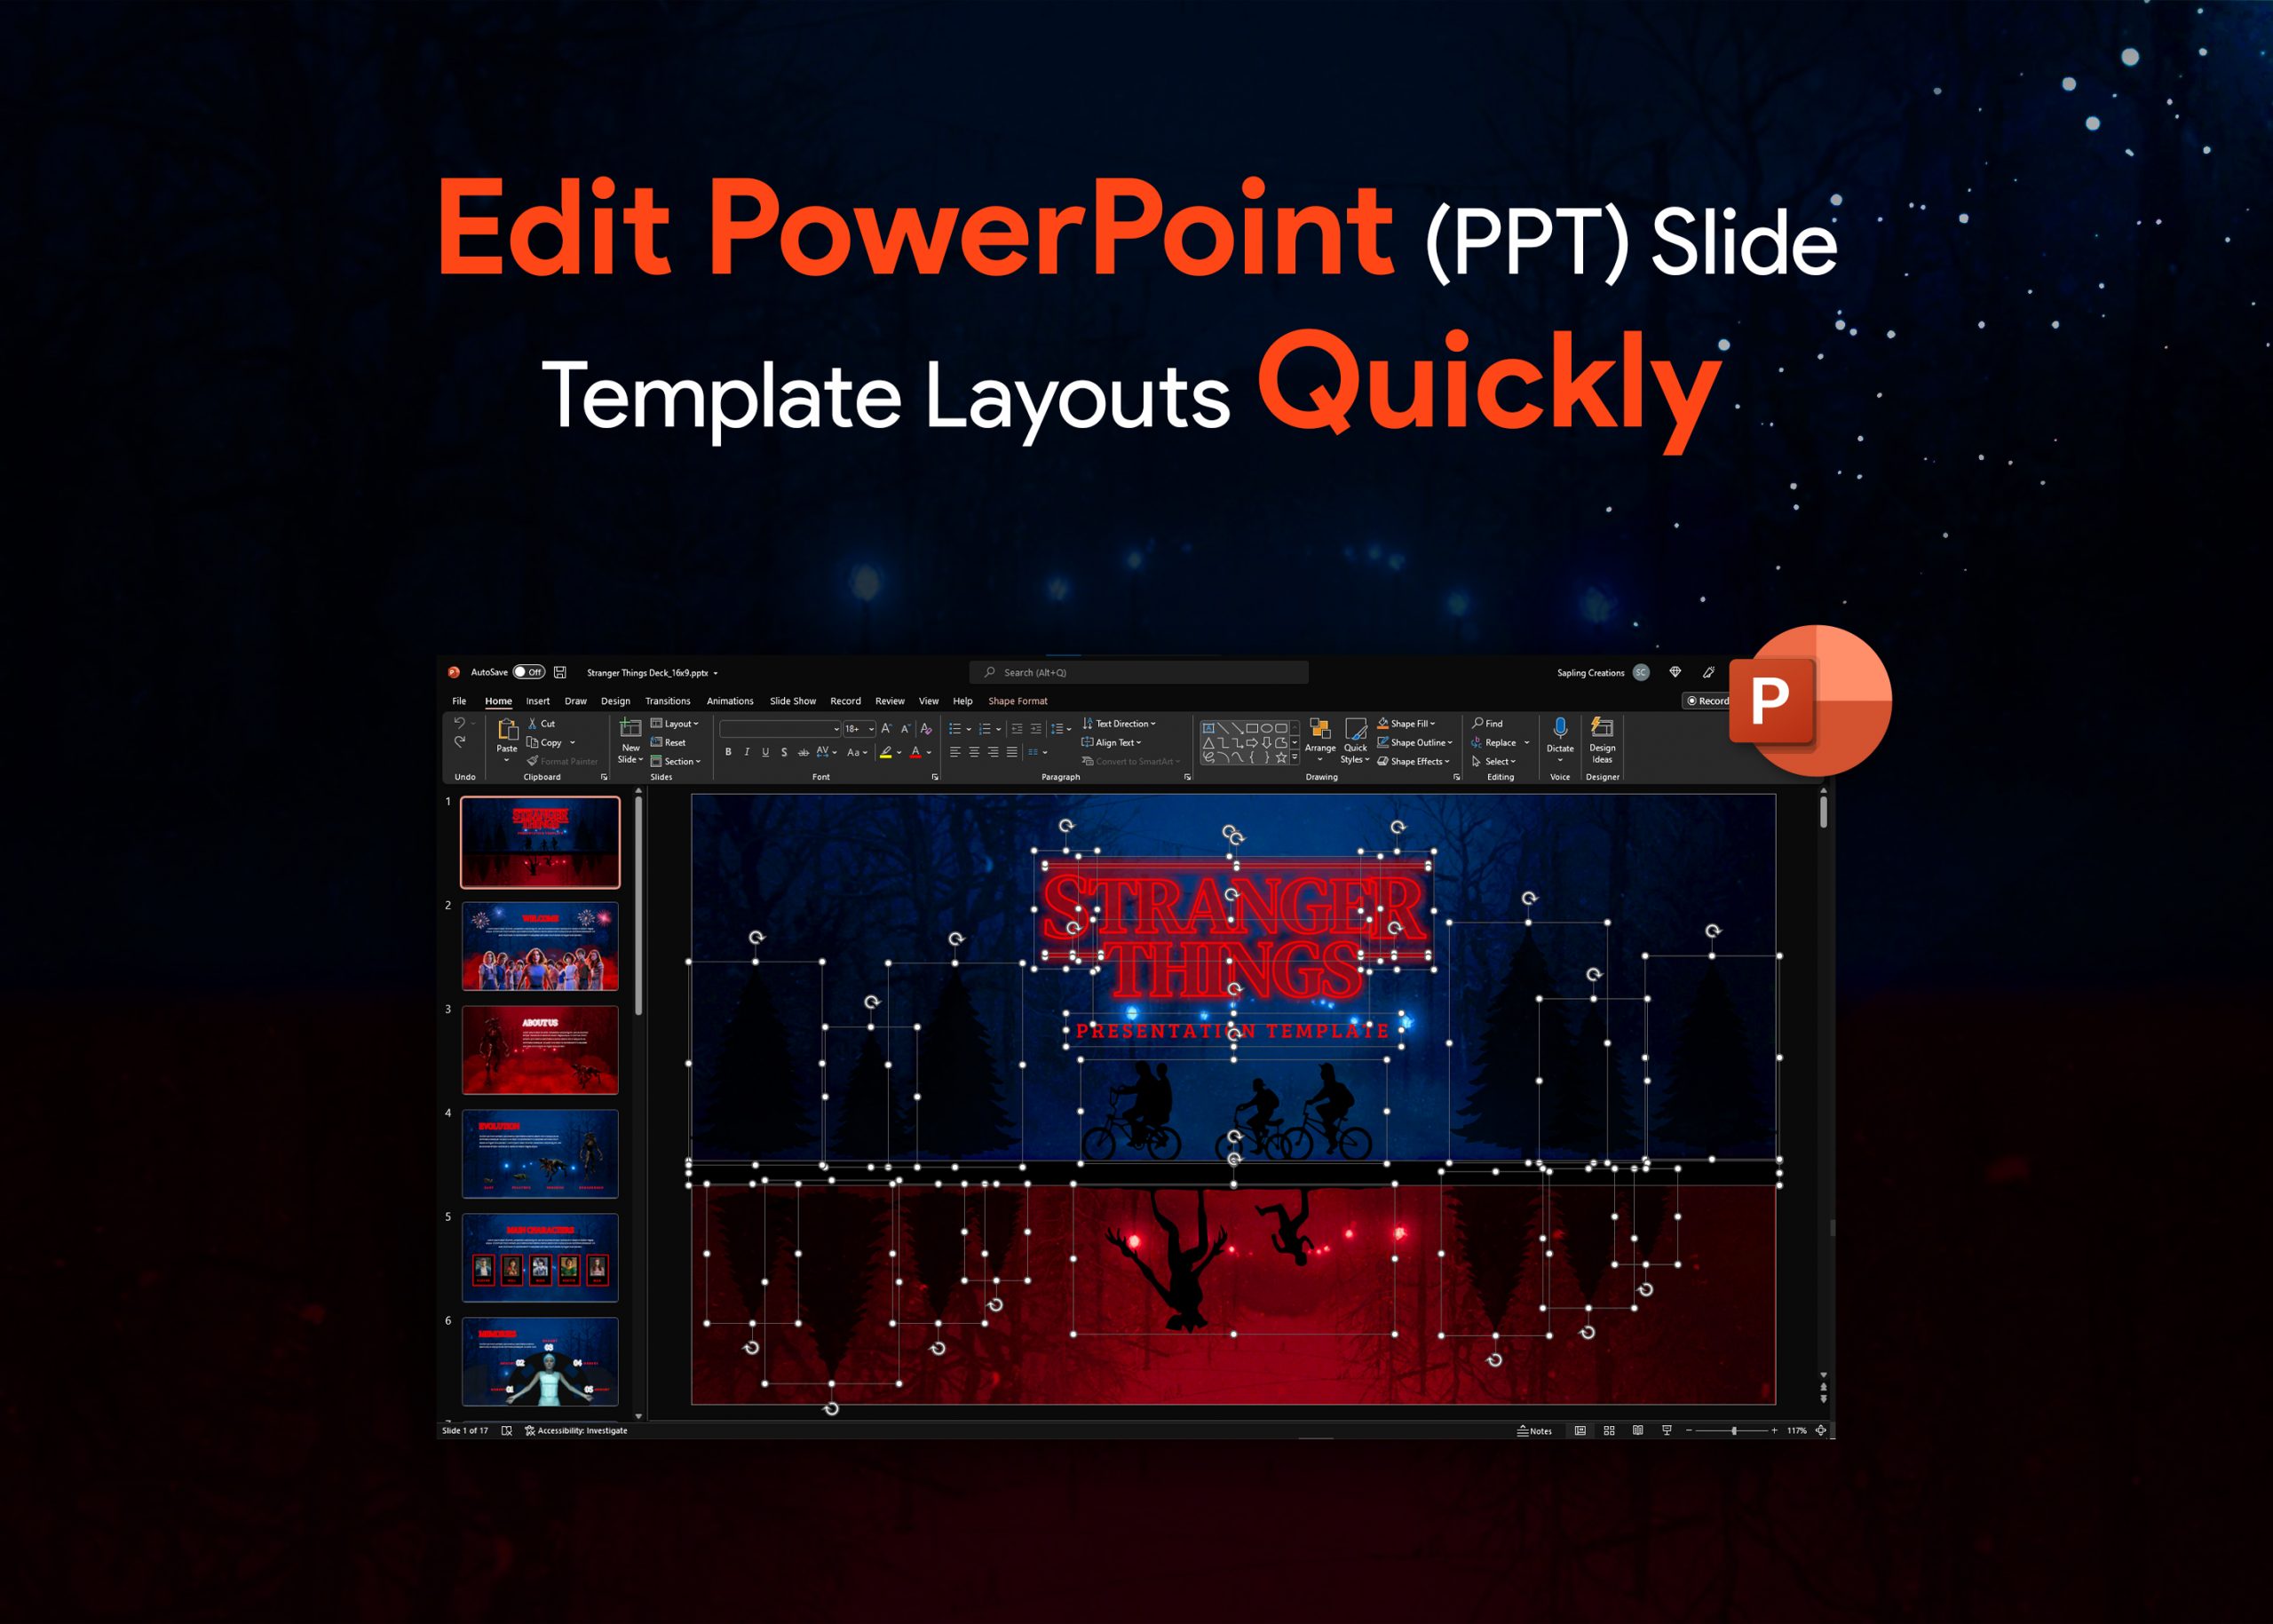
Table of contents
Introduction
Templates can enhance the appeal of your projects, but they can even slow down productivity when slightly wrong, outdated, or disorganized. On the other hand, good presentation templates can make a difference in the quality of your presentation.
While there are several presentation software options for designing templates and creating presentations, PowerPoint remains the best choice by a long shot. In fact, over 90% of businesses use PowerPoint presentations to communicate with their employees and customers.
The reason for this is simple – PowerPoint templates are easy to use and versatile, allowing you to create professional presentations quickly and easily. However, having a great template isn’t enough; learning how to edit a PowerPoint template and knowing how to make it more appealing can be a very rewarding skill.
How to Edit PowerPoint Templates
Are you ready to learn how to edit PowerPoint templates? In this blog, we are going to show how to make an awesome presentation that can amaze your audience.
Here is a guide on how to edit PowerPoint Templates:
- Open Microsoft PowerPoint; you can open computer programs, web apps or mobile apps; all features are similar. This method works for all.

- Click VIEW Tab from the top ribbon.
- Click the SLIDE MASTER tab; using this program window; you will be resized to fit both the single slide preview and the blueprint of your entire slideshow.
- Editing the Template: The slides on the left are your master slides or the blueprints for all your similar slides. Changing anything on the slide will change it throughout the slideshow. For example: if you customize fonts in a text-based slide, the font will change for the entire group. In the SLIDE MASTER view, you will see several formatting options, like adding or removing slide titles and footers, changing background styling, changing themes, and more.
- Click CLOSE MASTER; you will find this menu at the corner of the SLIDE MASTER TOOLBAR.
- SAVE THE TEMPLATE: Next step is to save the file for future use.
How to Change PPT Background/Edit the Cover Slide
Learning how to edit a PowerPoint slide can help you in mastering designing presentations. However, many online tutorials suggest using the Slide Master view. Unfortunately, slide master provides a blank layout; there isn’t any way to edit an existing template.
If you are looking to edit an existing template. In this tutorial, we are going to outline steps following which you can turn the downloaded template into a personalized one.
Start With the Cover Slide
The first thing you will do when editing a PowerPoint template is to replace the default image with the selected one. There are two ways to do this.
Right Click on the Image to Change
To change the default image of your presentation. Right-click on the Image and select CHANGE PICTURE. Then from the slide menu, select the source of the new Image. (Device, Stock Images, Online Sources, from icons, from clipboard).
Using Selection Panel to Change Images
Templates with complicated animations and transitions require a different method to change images. Here is the step you should follow.
- Click on the Home menu from the top navigation bar.
- Now you need to find the EDITING menu on the right side of the top navigation bar.
- Click on the drop-down menu, click on SELECT, then SELECTION PANE.
- After clicking SELECTION PANE, a new tab will open that will show you all the elements on the slide and gives you the option to ‘’Hide’’ or ‘’Show’’ them.
NOTE: By clicking HIDE ALL, you can get a blank screen. The number of elements shown in the SELECTION PANE depends on the complexity of the slide.
Change Shapes Style
If you choose an image that doesn’t match the colour scheme of your template, then you probably need to make some changes to make your presentation make attractive and appealing. But, don’t worry; it’s super-easy. So, let’s get started and change the colour to match our Image for a more congruent look.
- Right-click on the shape that contains the title and select the option FORMAT SHAPE
- As you click the FORMAT SHAPE option, a side panel will open where you can see multiple options, using which you can adjust the effects, colours, transparency and much more.
Note: When you change the colour scheme of the original slide, that has a transparency effect of 30% changes. If you want to use it with new colour, right-click and select FORMAT SHAPE, setting the transparency to 30%.
Change Font Style
You can make customizations with the texts of the template just by following these simple steps.
- Highlight the text where you want to make changes.
- The top navigation section shown in the image above refers to what you can do with text.
Here are the following edits you can make with the highlighted text:
- Font Style
- Size
- Colour
- Type
Ready to Customize PowerPoint Templates
Now you have mastered how to use the Slide Master in PowerPoint to adjust any slide designs and update many slides at the same time. Plus, you have learned how to edit a PowerPoint template.
Now it’s time to work. But just learning how to edit a PowerPoint template isn’t enough; you need some creativity and think out of the box to design some awesome PowerPoint templates.
If you are looking for inspiration like the above, then check out Presentermedia library for some awe-inspiring designs for free.
About The Author