
Download Free Google Slides Star Wars PowerPoint Template
Item ID: SCF00250
Google Slide,PowerPoint
100% Fully Customizable
Free to use
Liked the template? Support SlideChef!
Give us Donation! Help to keep our Templates Free for ever
Hi there! We hope you’re enjoying SlideChef for your presentations. As a free platform, we rely on donations to keep things running. If you find our resources helpful, please consider a small donation. Thank you!
How to Use the Free Star Wars Movie Template
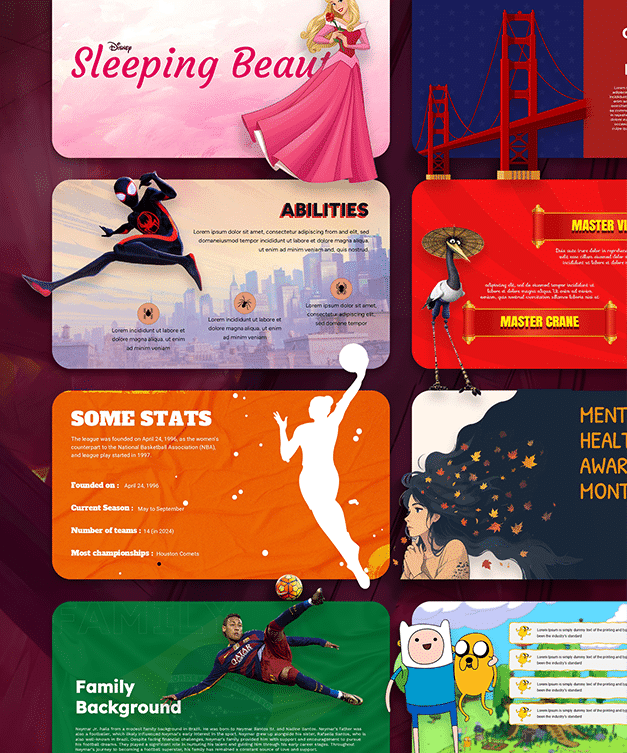
Bring the grandeur of a galaxy far, far away straight to your audience! This movie-inspired template captures the excitement of the iconic sci-fi saga with stunning character graphics, space backgrounds, and creative layouts.
Here is a detailed, step-by-step guide to setting up your galactic deck in both Microsoft PowerPoint and Google Slides:
Detailed Step-by-Step Guide for Microsoft PowerPoint
Step 1: Download and Unlock the Deck
Click the PowerPoint download button to save the file to your computer. Open the downloaded .pptx file and click the yellow Enable Editing button at the top of your screen to unlock the slides.
Step 2: Rewrite the Cinematic Text
Click inside any pre-designed text box to delete the placeholder words. Type in your own classroom lessons, sci-fi movie facts, or creative business pitches. The fonts are pre-configured to match the cinematic style.
Step 3: Introduce Your Crew with Stormtroopers
Navigate to the team introduction slide. Click on the text fields next to the creative stormtrooper helmets to add the names, titles, and roles of your project team members or classmates.
Step 4: Swap Out Character Graphics
To personalize the visuals, right-click on any character portrait or illustration (like Luke Skywalker or Darth Vader) and select Change Picture -> From a File. Choose a custom image or screenshot from your device to instantly update the slide.
Step 5: Add Interactive Elements
Keep your audience involved by inserting your own interactive elements. Use the PowerPoint menu to embed sci-fi video clips, link out to live audience polls, or set up a Star Wars trivia quiz slide.
Step 6: Organise and Filter Your Slides
Look through the template deck and right-click on slide thumbnails in the left-hand panel to duplicate your favorite layouts. Delete any space battles or scene slides you do not need so your presentation matches your timeline.
Step 7: Launch Your Galactic Presentation
Save your final changes. Click on the Slide Show tab at the very top of the window and select From Beginning to view your presentation in full screen.
Detailed Step-by-Step Guide for Google Slides
Step 1: Copy the Template to Your Cloud
Click the provided Google Slides link. A page will open asking you to copy the document; click the blue Make a Copy button to automatically save the template into your personal Google Drive.
Step 2: Edit Text Directly in Your Browser
Highlight any headline or paragraph on the slides—such as the introductory slides or data pages—and type your notes directly over them. Everything saves automatically in the cloud as you type.
Step 3: Replace the Space Visuals
Click once on any pre-loaded graphic, such as the Millennium Falcon or character illustrations. Click the Replace Image button on the top toolbar, select Upload from computer, and drop in your own custom artwork or presentation visuals.
Step 4: Customize the Colors and Themes
If you want to tweak the design to reflect your personal style, click on any geometric shape or background layer. Use the paint bucket icon on the toolbar to adjust accent colors or match a specific branding palette.
Step 5: Structure Your Content Flow
Go to the slide navigation column on the left side of your screen. Click and drag slides up or down to reorder your narrative. Right-click any slide thumbnail to copy a layout or delete an unwanted page.
Step 6: Share and Collaborate Live
If you are working on a group school assignment or a team proposal, click the blue Share button in the top-right corner. Enter your teammates' email addresses to let them edit the Star Wars layouts with you in real-time.
Step 7: Start Presenting
When your custom deck is locked and ready, click the Present button next to your profile icon in the top right corner of your browser window to display your slides full screen.